
We’ve all been there. You’ve meticulously planned a restorative procedure, but five minutes in, you're fighting a losing battle against moisture. The rubber dam clamp, meant to be your ally in isolation, either pings off the tooth, fails to retract the gingiva, or worse, causes iatrogenic damage. The frustration is palpable. A simple procedure becomes complicated, chair time increases, and the quality of your bond is compromised before you even begin. This isn't a failure of technique; it's often a failure of the instruments themselves.
Choosing the right rubber dam instruments isn't just about grabbing any clamp from the tray. It’s about understanding the subtle engineering, material science, and ergonomic design that enable predictable, effective isolation every single time. This guide moves beyond basic charts and part numbers. We will provide a manufacturer's perspective on what truly makes a rubber dam system reliable, from the grade of steel in your forceps to the design of a punch that won’t tear the sheet.
-
 Rubber Dam Clamp Forceps IV TypeRegular price$35.00
 -
-
-
-
-
-
-
-
-
-
-
-
-
-
-
-


The Foundation of Isolation: Defining the Key Instruments
Achieving perfect isolation with a rubber dam is a systematic process, and each instrument plays a critical role. Understanding the function of each component is the first step toward mastering the technique.
- Dental Dam Punch: This precision instrument creates clean, perfectly sized holes in the rubber dam sheet. A quality punch is essential to prevent tears, which can lead to leakage during the procedure.
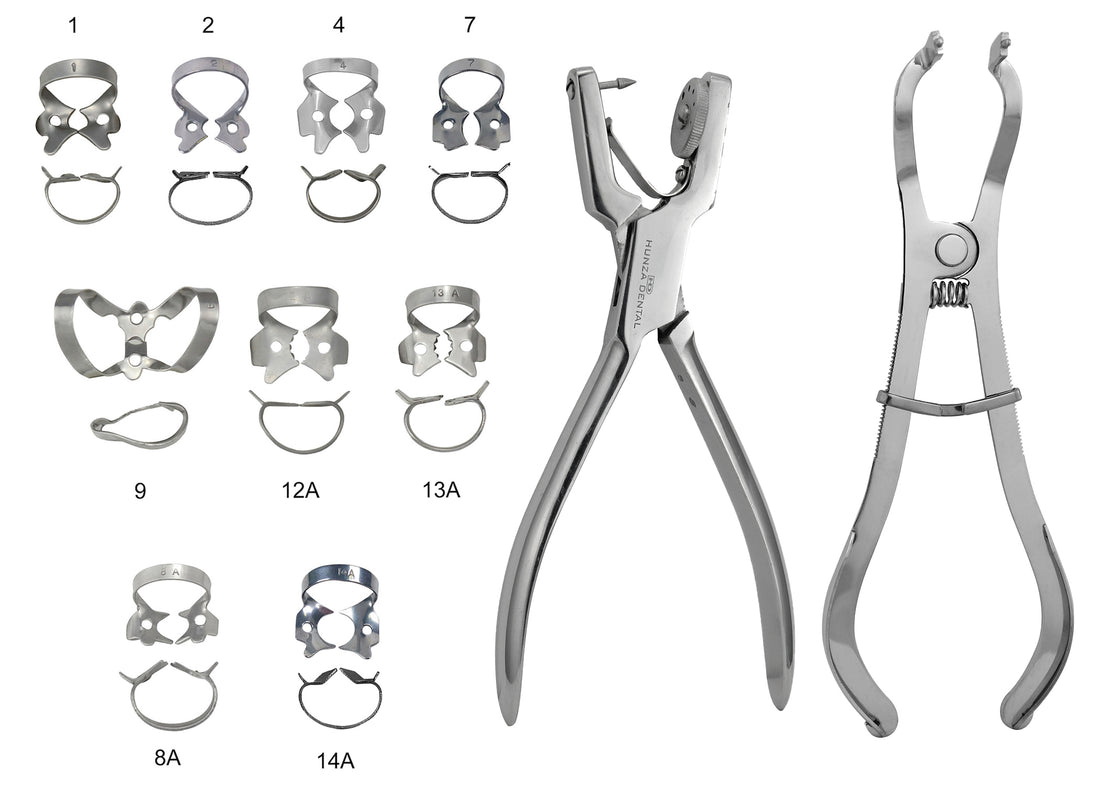
- Clamp Forceps: These forceps are specifically designed to engage the holes in a rubber dam clamp, allowing the clinician to expand the clamp, place it over the tooth, and release it securely. Their design is crucial for controlled placement and removal.
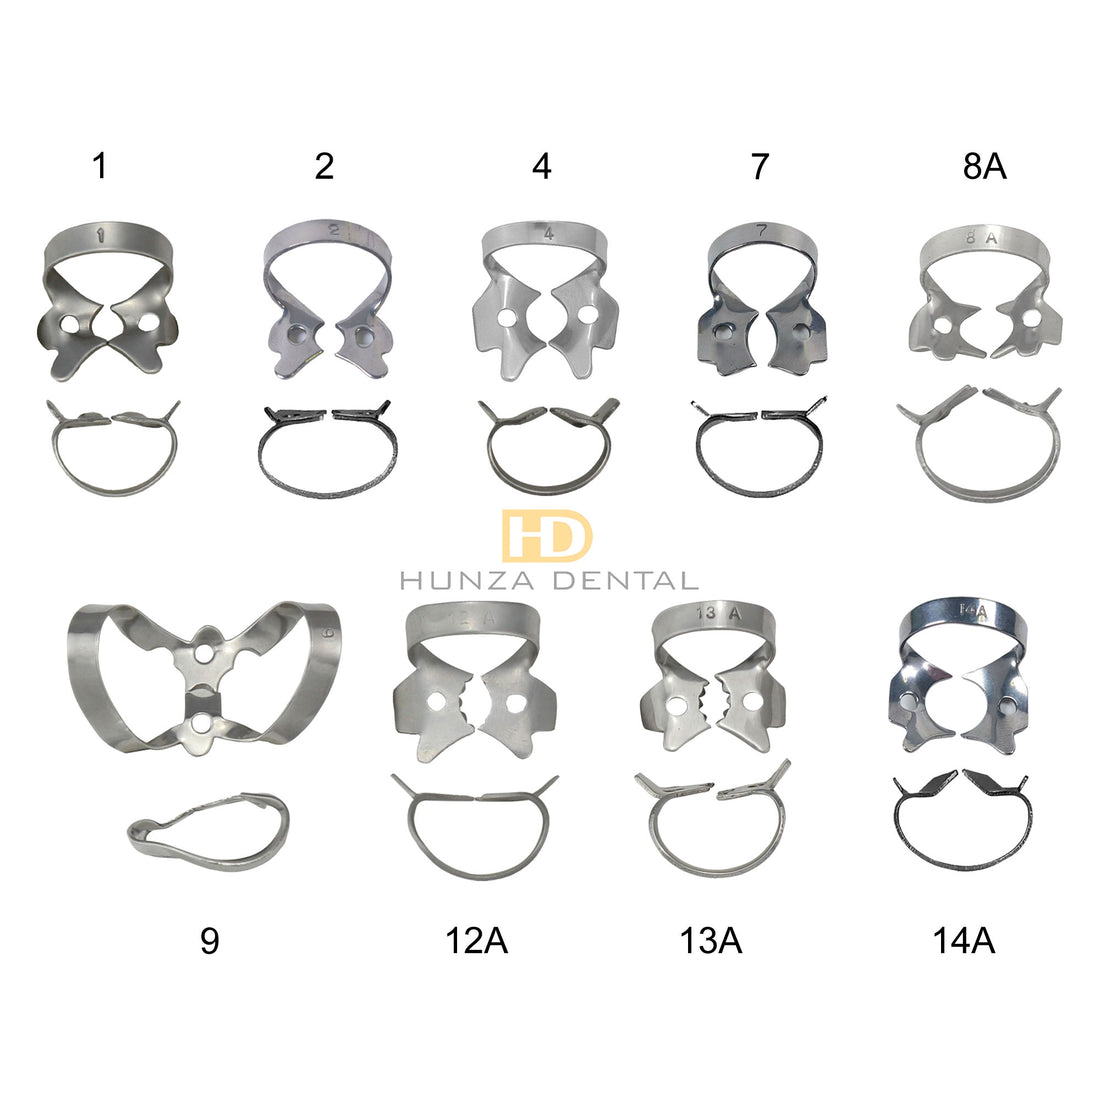
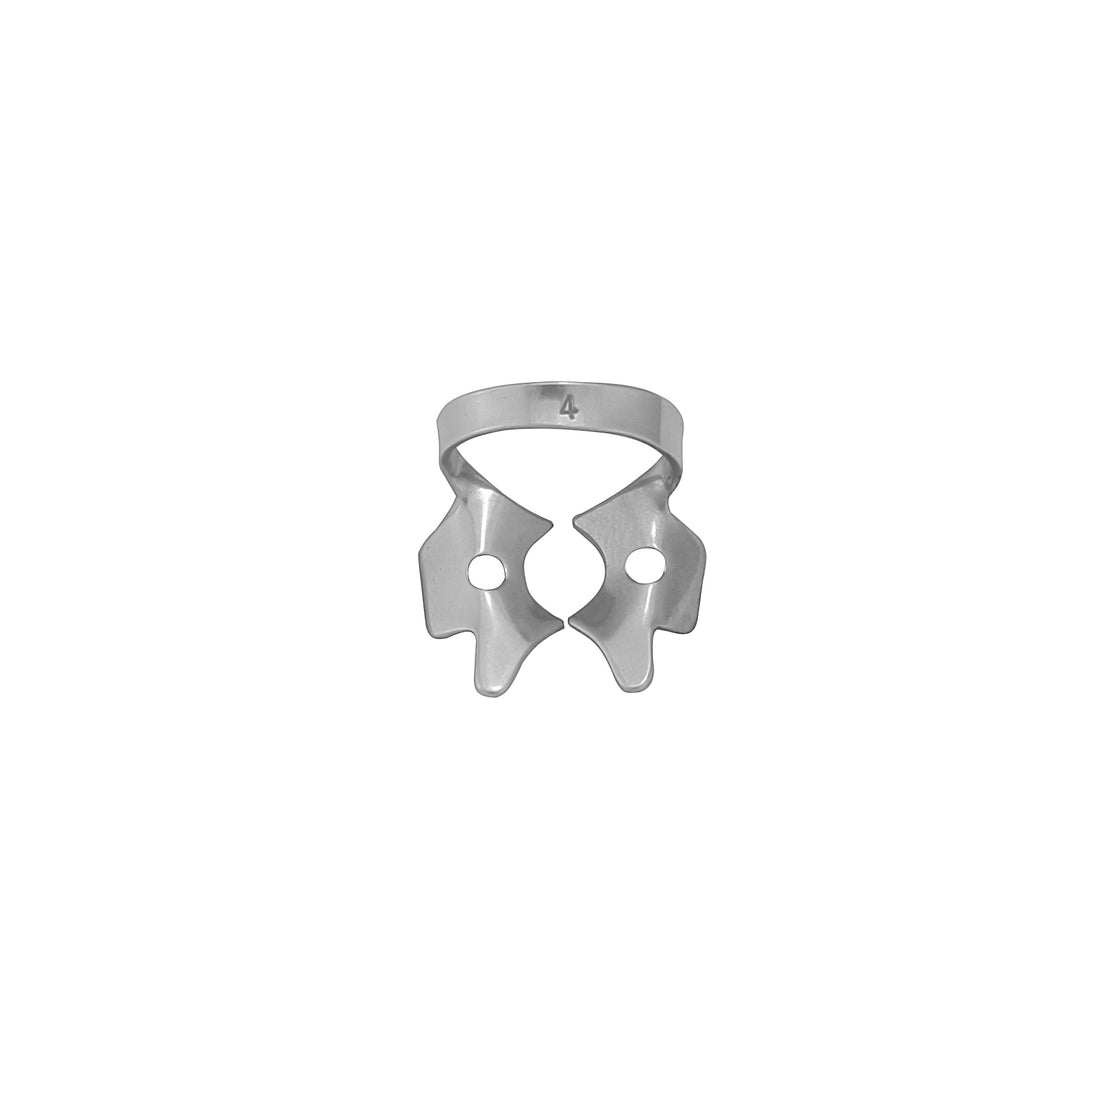
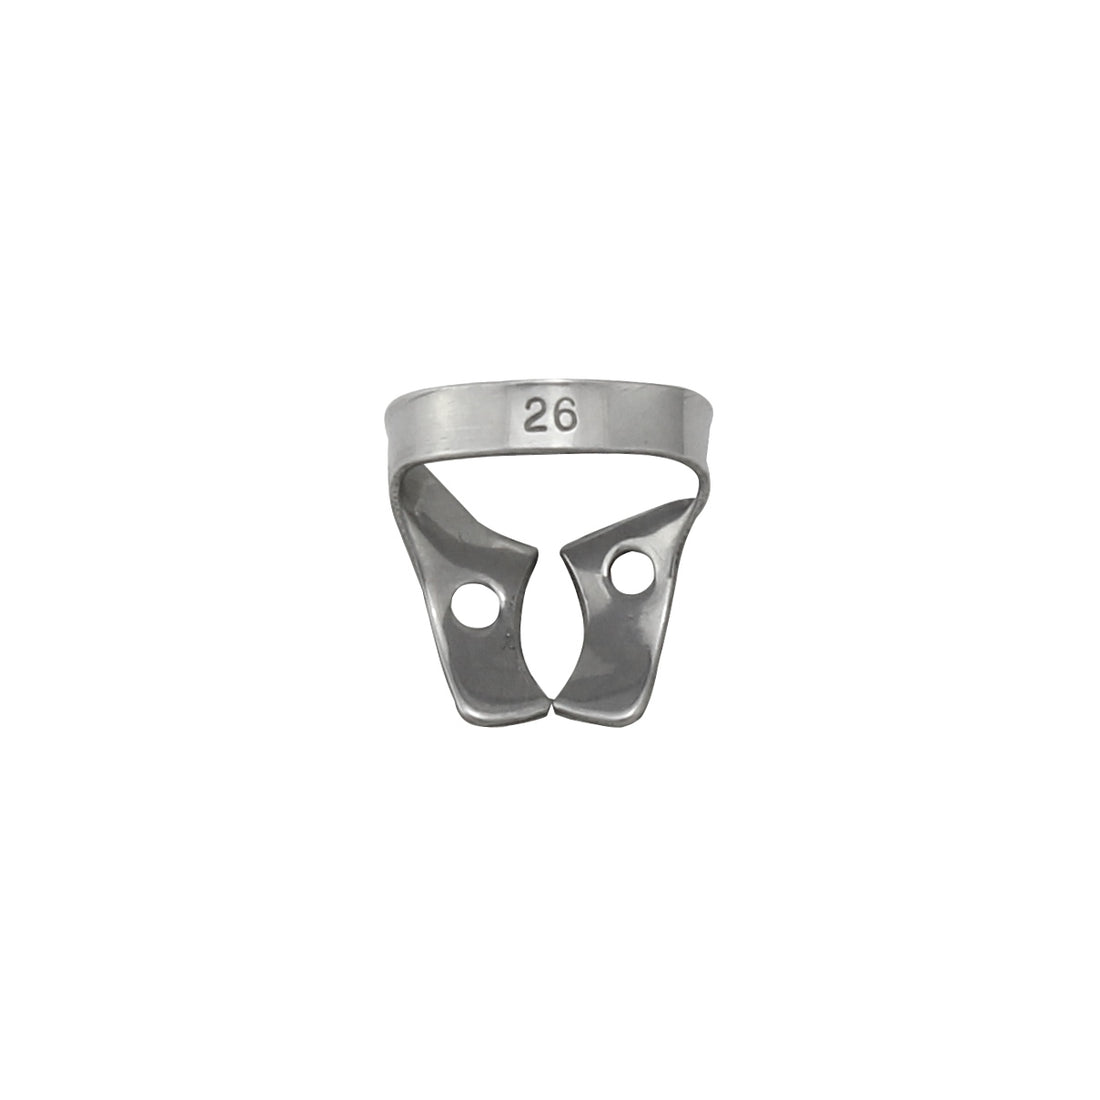
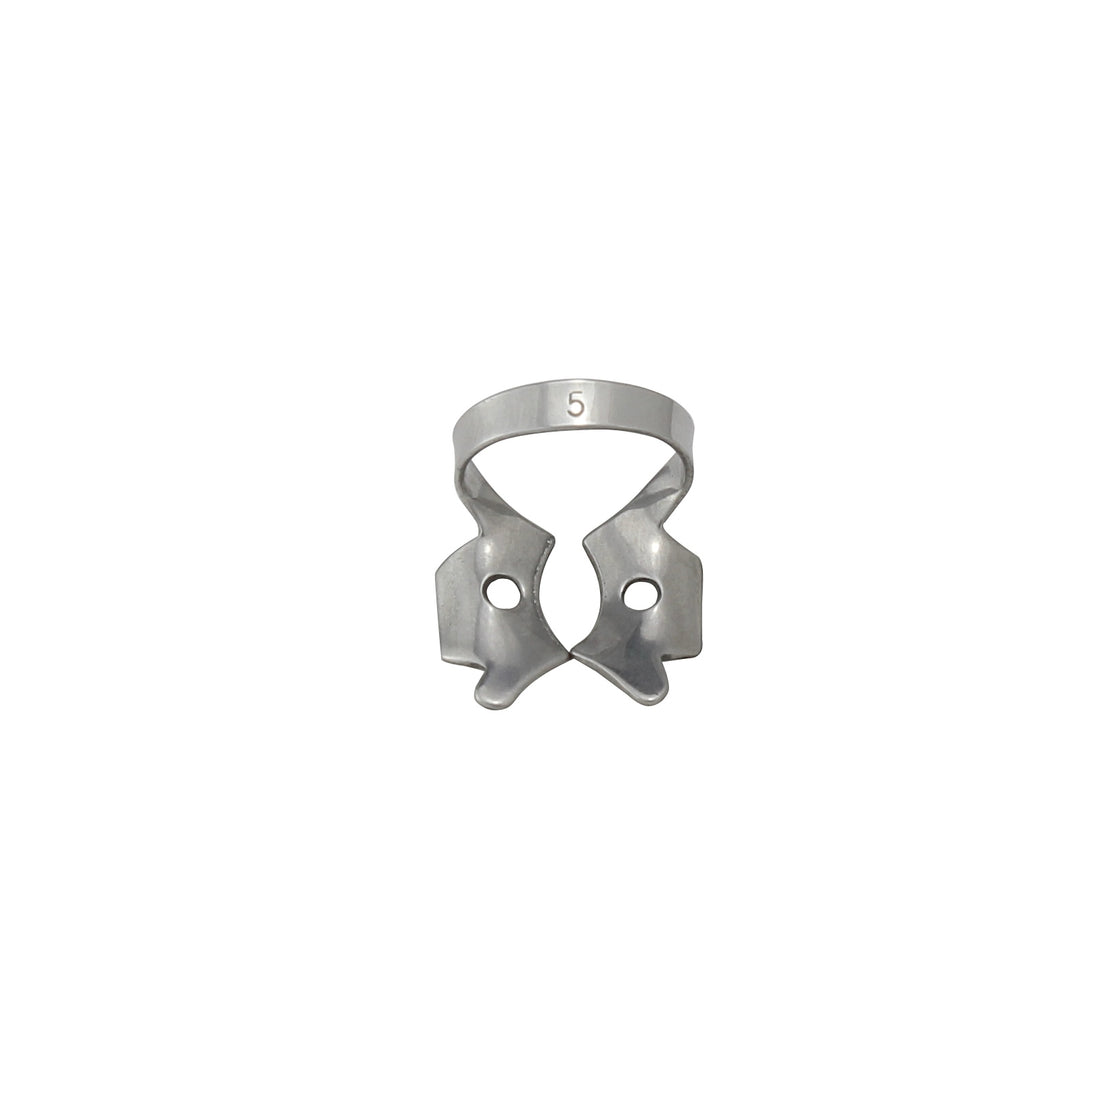
- Rubber Dam Clamps: These are the anchors of the system. Clamps grip the anchor tooth, securing the rubber dam and often retracting the gingiva. They come in a vast array of shapes and sizes to fit different tooth morphologies.
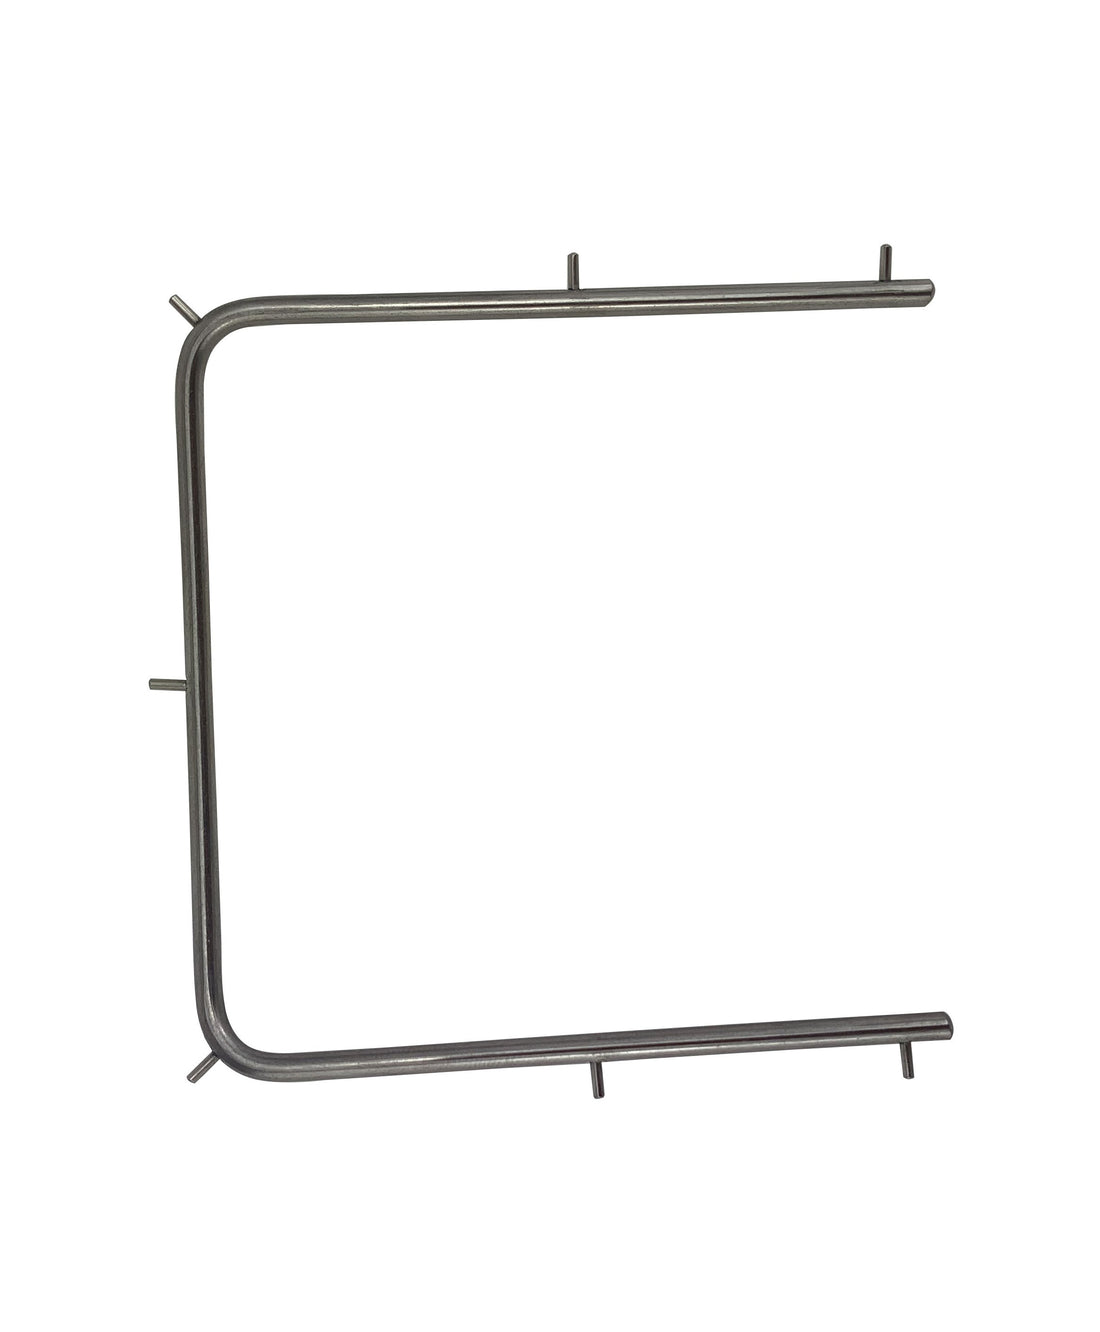
- Rubber Dam Frame: Once the dam and clamp are in place, a frame is used to stretch the rubber dam sheet, holding it away from the working field and providing clear access and visibility for the clinician.
A Manufacturer’s Perspective: Details That Define Quality
The performance of your rubber dam instruments is determined long before they reach your clinic. It’s forged in the choice of raw materials, the precision of the manufacturing process, and the focus on ergonomic design.
The Unseen Strength of Stainless Steel
Most clamps are made from stainless steel, but not all steel is created equal. We prioritize high-tensile, heat-treated stainless steel for our clamps. This specific grade provides the ideal "spring," allowing the clamp to be expanded repeatedly without losing its original shape or clamping force. A lower-grade steel will deform over time, leading to a weak grip and unpredictable performance. For forceps and punches, we often utilize surgical-grade German stainless steel, known for its hardness and corrosion resistance, ensuring the beaks of the forceps don't bend and the cutting edge of the punch remains sharp through countless sterilization cycles.
Ergonomics: Preventing Fatigue and Ensuring Control
Placing a rubber dam clamp, especially in the posterior region, requires fine motor control. The design of the clamp forceps handle plays a significant role. A lightweight, ergonomically shaped handle reduces the muscle force needed to operate the instrument, minimizing hand fatigue. Furthermore, the beaks of the forceps must engage the clamp securely with minimal rotation or slippage. This stable connection gives you the confidence to place the clamp precisely, even in difficult-to-reach areas.
Beyond the Instrument: Sterilization and Longevity
All our instruments are designed to meet stringent ISO sterilization standards. The choice of materials and surface finish is critical. A matte or satin finish on clamps reduces glare under operatory lights and is more resistant to spotting and corrosion during autoclaving compared to a highly polished surface. A well-made instrument is an investment, built to withstand the rigors of daily use and sterilization without compromising its function.
Choosing Your Arsenal: A Guide to Clamps, Punches, and Frames
Navigating the options can be overwhelming. This breakdown provides clarity to help you select the right tools for your practice.
-
Rubber Dam Punch: Precision is Non-Negotiable
A quality punch, like the Ainsworth or Ivory style, features a rotating disk with multiple hole sizes. The key is a sharp cutting table that produces a clean, round hole every time. A dull punch will create a jagged cut or a "hanging chad," which is a primary cause of dam tearing upon stretching. -
Clamp Forceps: The Key to Placement
Look for forceps with a locking slide or mechanism that can hold the clamp in an open position. This feature frees your attention from squeezing the handles, allowing you to focus entirely on precise placement over the tooth. The Stokes and Brewer styles are common examples offering different handle ergonomics. -
Frames: Plastic vs. Metal
- Metal Frames (e.g., Young's Frame): These are classic, durable, and easy to sterilize. They hold the dam with sharp points and provide excellent retraction.
- Plastic Frames (e.g., Nygaard-Ostby, Sauveur): These are often radiolucent, meaning you can take radiographs without removing the frame. They are typically lighter but may not offer the same rigidity as their metal counterparts.
-
Clamps: The Heart of the System
Clamps are generally categorized as winged or wingless. Winged clamps allow you to place the clamp into the rubber dam sheet before carrying the entire assembly to the mouth. Wingless clamps are placed on the tooth first, followed by stretching the dam over the clamp and tooth.
Clamp Selection at a Glance
|
Clamp Type |
Common Teeth |
Key Feature |
Winged/Wingless Option |
|---|---|---|---|
|
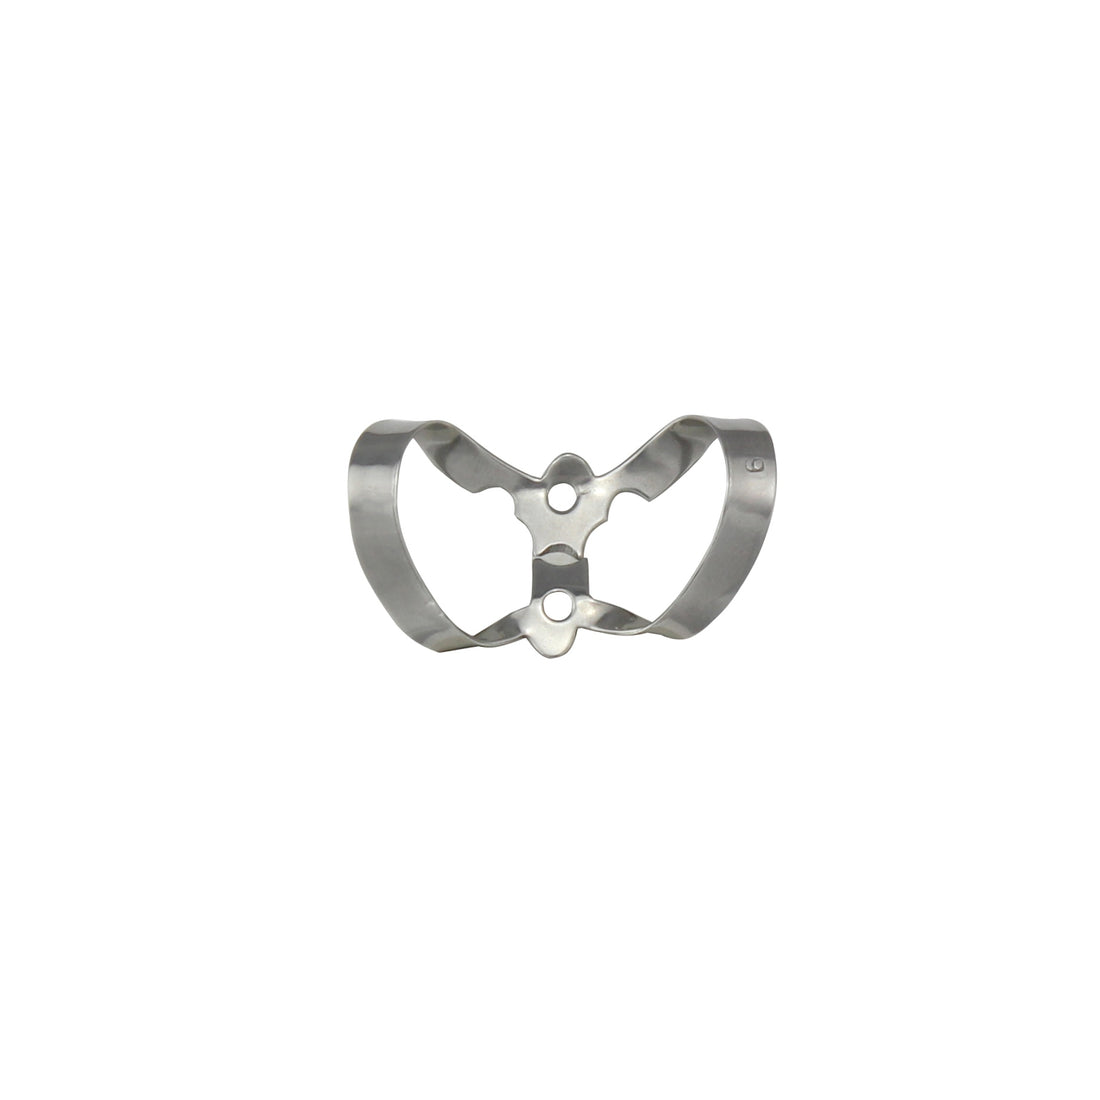
Anterior Clamps (#9, #212) |
Incisors, Canines |
Double-bow design for retraction |
Both |
|
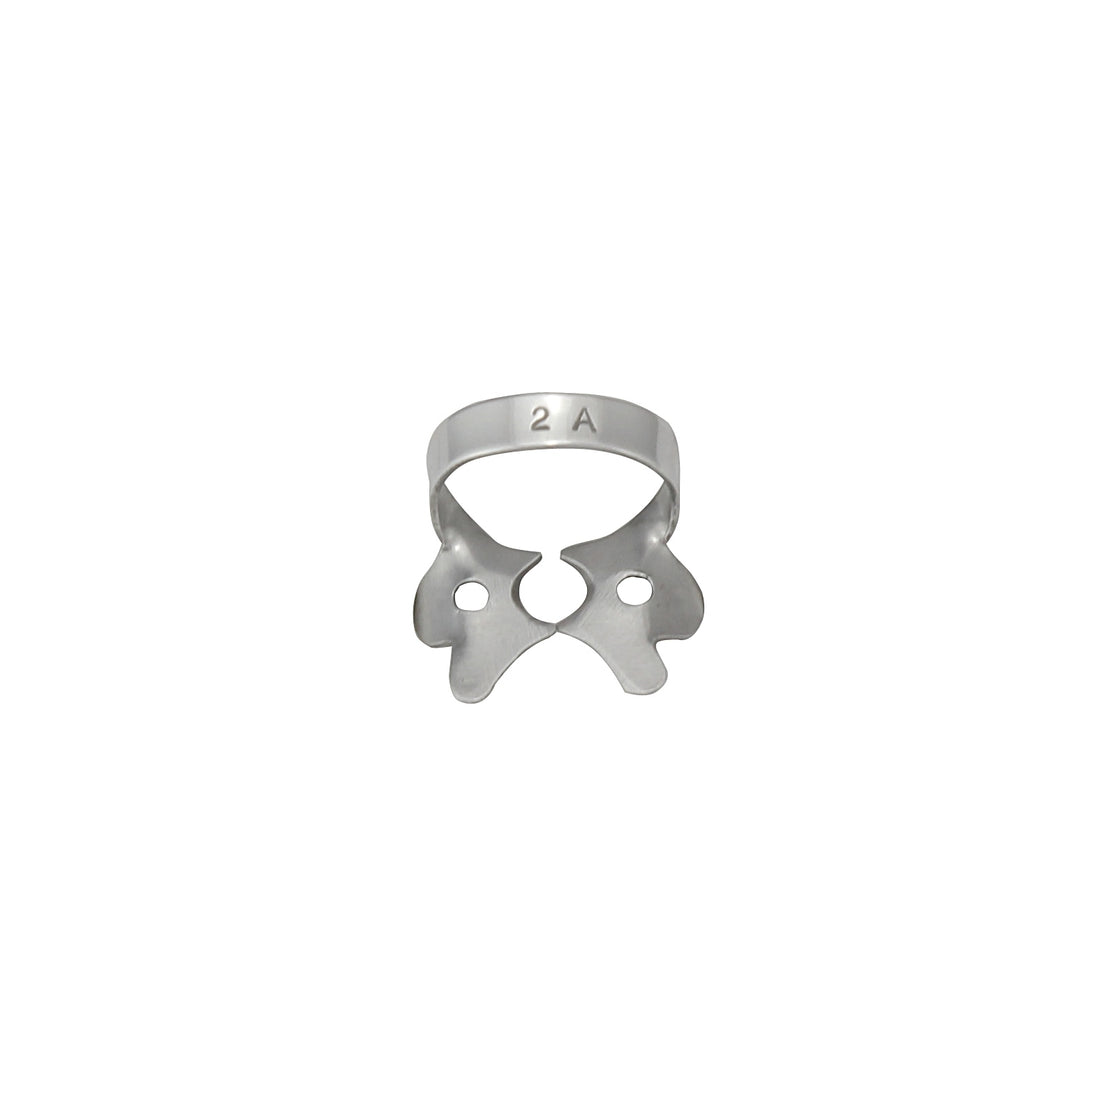
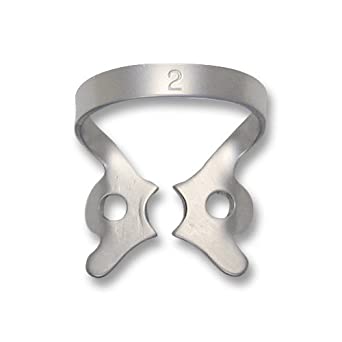
Premolar Clamps (#00, #1, #2) |
Premolars, Small Molars |
Small, flat jaws |
Both |
|
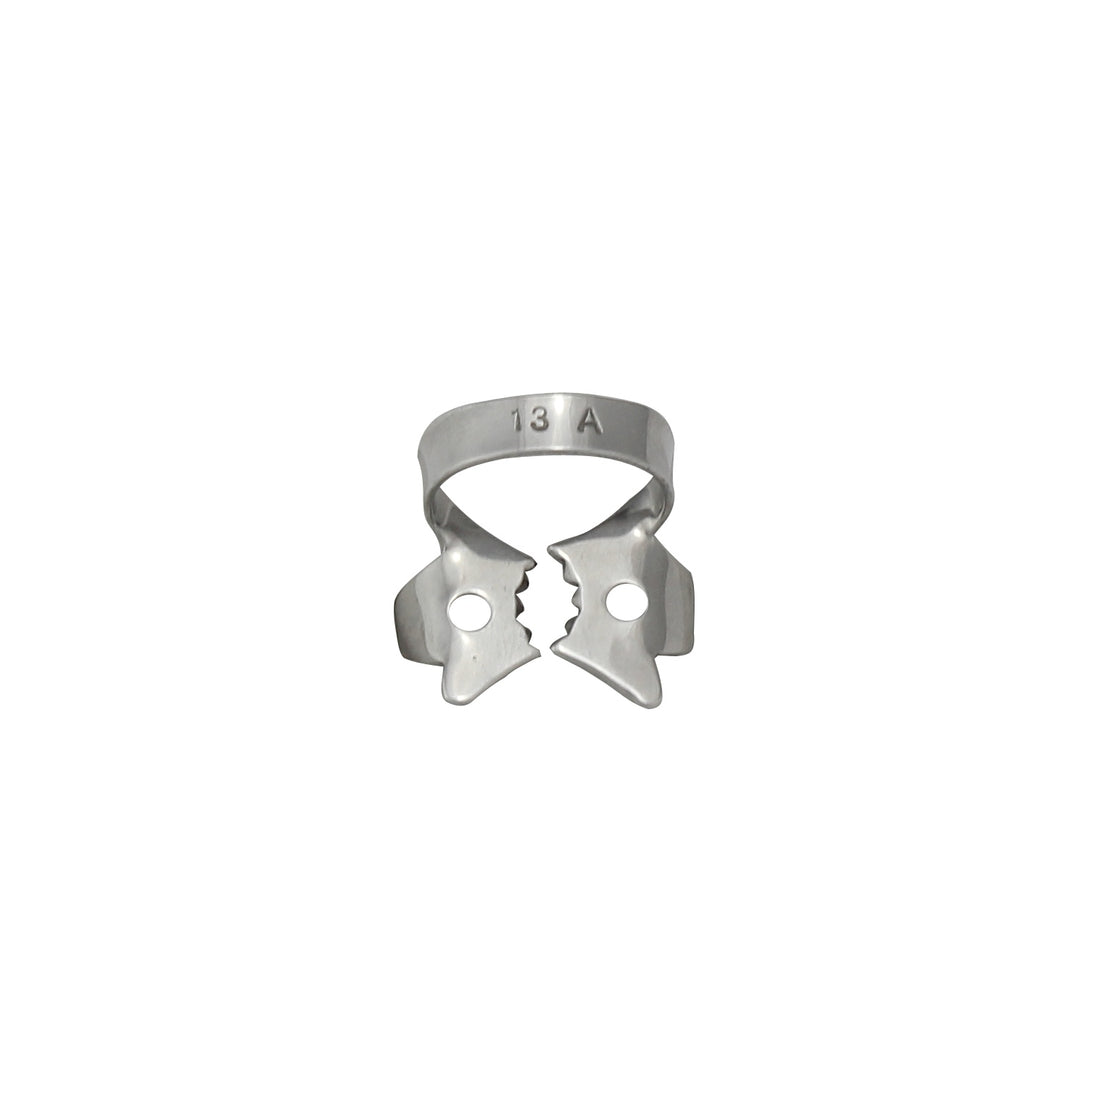
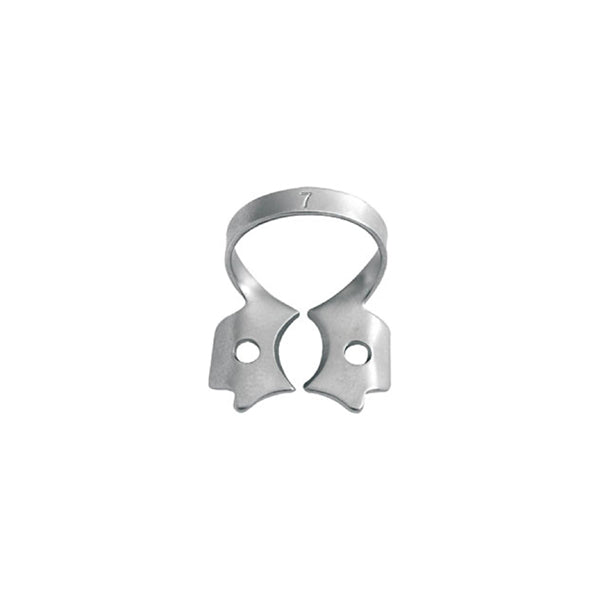
Molar Clamps (#7, #8, #14A) |
Mandibular/Maxillary Molars |
Broad, serrated jaws for grip |
Both |
|
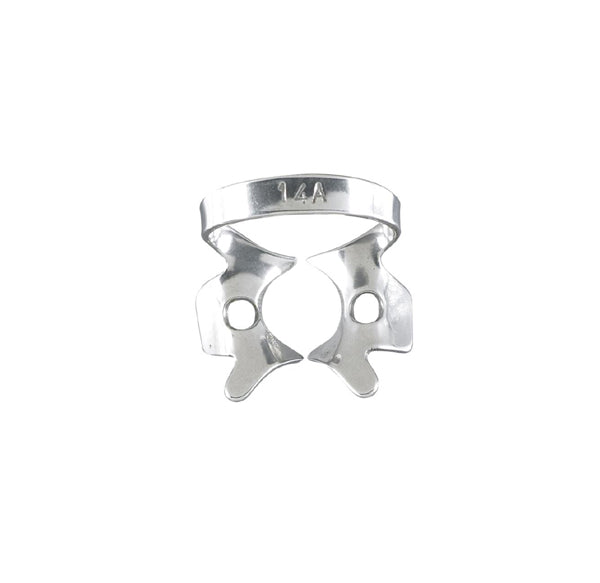
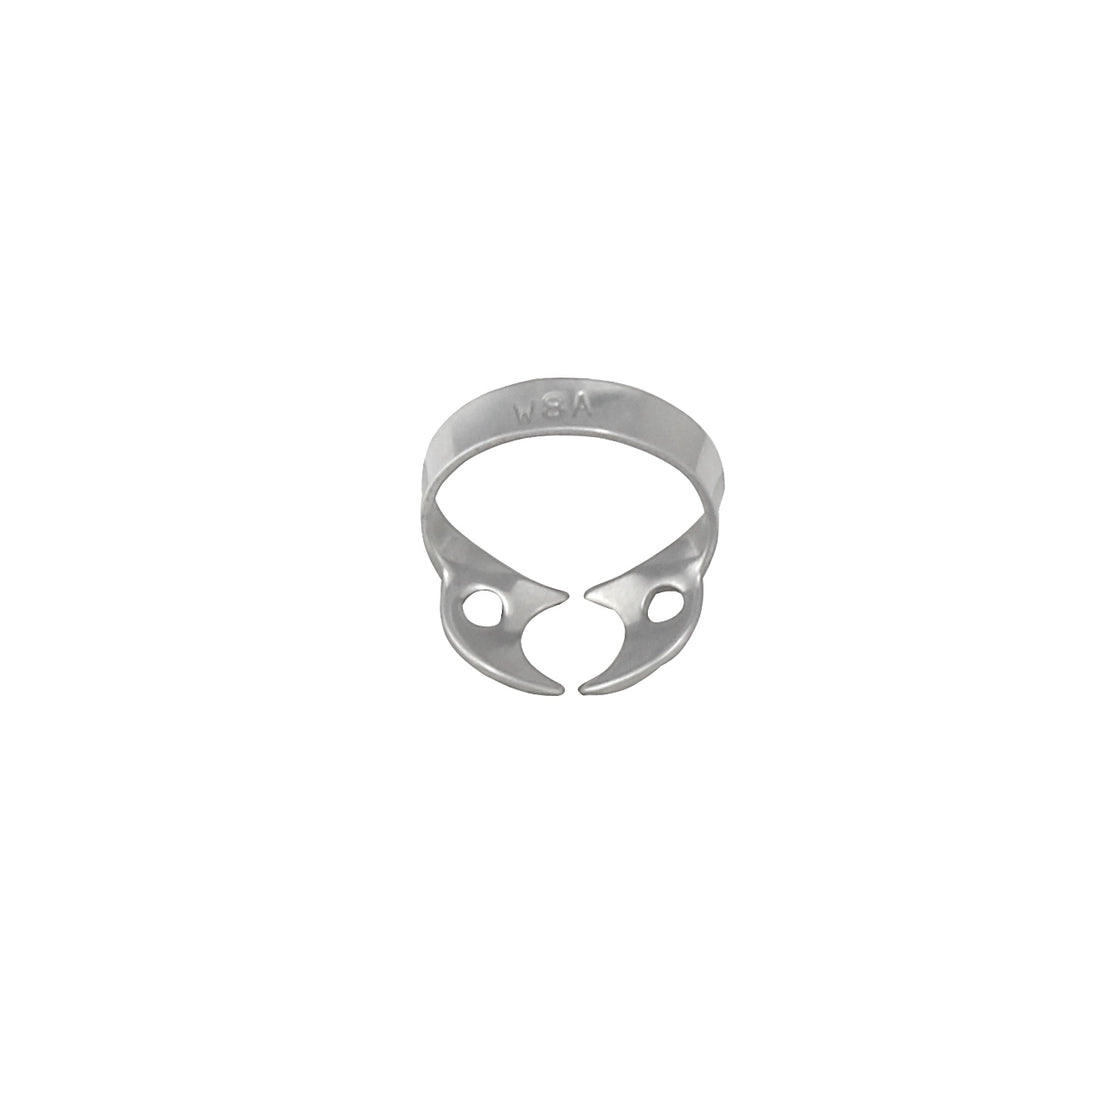
Specialty Clamps (#8A, #14A) |
Partially Erupted Molars |
Four-point contact, deep-reaching jaws |
Wingless |
Actionable Tips for Immediate Application
- Test Your Clamps: Before placing a clamp, test its stability. Once on the tooth, apply gentle pressure to the bow with a finger. If it rocks or moves, you need a different clamp. The four points of the jaws should be in solid contact with the tooth structure.
- Maintain Your Punch: Don't wait for your punch to tear a dam. Regularly check the cutting anvil for sharpness. If it's not cutting cleanly, it's time for a replacement. A sharp punch is one of the best ways to prevent leakage.
- Ligate Your Clamp: For maximum safety, always tie a long piece of dental floss (a ligature) to the bow of the clamp before placement. This allows for easy retrieval if the clamp is dislodged and prevents aspiration.
- Organize for Success: Use a dedicated rubber dam organizer for your clamps. This not only protects the instruments but also makes finding the right clamp mid-procedure fast and efficient.
Frequently Asked Questions (FAQs)
How do I choose the right rubber dam clamp for molars?
For fully erupted molars, a universal clamp like a #7 (for mandibular) or #8 (for maxillary) is a good starting point. For partially erupted or oddly shaped molars, look to specialty clamps. A #14A or #8A features deeply festooned jaws that can grip the tooth below the height of contour, providing excellent stability where other clamps would fail.
What are the best rubber dam frames for pediatric patients?
Plastic, flexible frames are often preferred for pediatric patients. They are lighter, have less intimidating profiles, and their flexibility can be more accommodating to smaller faces and patient movement.
My rubber dam keeps tearing. What am I doing wrong?
The most common culprits are a dull punch creating jagged holes, using a hole size that is too small for the anchor tooth, or over-stretching the dam during placement. Start by inspecting your punch, and ensure you are selecting the appropriate hole size for each tooth.
The Future of Clinical Isolation
Effective isolation is not an optional luxury; it is the cornerstone of modern adhesive dentistry, endodontics, and restorative care. As manufacturers, we see a future with even more anatomically specific clamp designs, materials with improved memory and flexibility, and integrated systems that make application faster and more foolproof.
By investing in high-quality, ergonomically designed rubber dam instruments, you are not just buying tools. You are investing in predictability, efficiency, and clinical confidence. You are ensuring that the quality of your work is never compromised by something as fundamental as moisture control. We encourage you to share these insights with your peers and elevate the standard of care throughout our profession.